Knowing how the fittings work on the inside can help explain why each step is important to making a secure, leak-free connection.
The pipe must be cut squarely using appropriate tools for the job (SharkBite PEX Pipe cutters for PEX Pipe and a pipe cutter for Copper Pipe). The pipe must remain round, clean and free of debris. When the pipe is inserted into the fitting, it first passes through a demount ring and then through a stainless steel grab ring. The grab ring has “teeth” that open out and grip onto the pipe.
The pipe is then pushed through a Protection Ring, which aligns the pipe. A specially formulated O-Ring is then compressed between the wall of the fitting and the pipe before the end of the pipe reaches the tube stop.


This is important: Only when the pipe has passed through the O-Ring and reaches the tube stop is a secure joint created.
To ensure the pipe locks in place, installation must follow these steps:
PEX Fittings
Cut
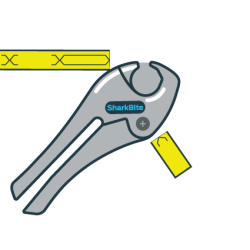
Using SharkBite PEX Pipe Cutters, cut the pipe squarely between two of the SharkBite® safe seal indicator marks as shown in the picture. Ensure pipe is round, clean and free of debris.
Push
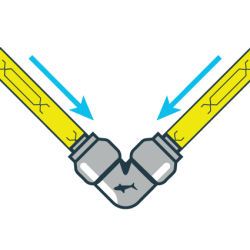
Insert the pipe through the release collar to rest against the grab ring. Push the pipe firmly with a twisting action and push to the SharkBite safe seal indicator mark.
Done
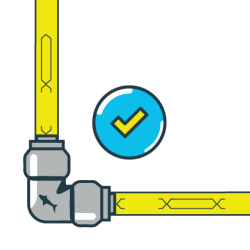
Ensure the SharkBite safe seal indicator mark aligns with the release collar as shown.
Disassembly
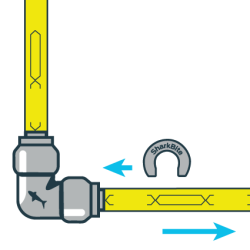
Using the Disassembly Clips, fittings can be easily changed, removed and the fittings reused.
COPPER Fittings
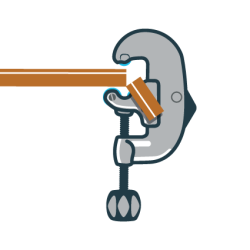
Cut
Using a pipe cutter, cut the copper tube to length making sure the pipe is cut squarely. Ensure pipe is round, clean and free of debris.
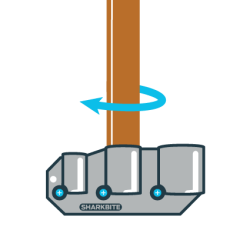
Deburr
Remove burrs from the pipe using the SharkBite deburrer and depth gauge.
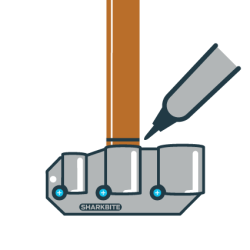
Mark
Mark the pipe with a marker using the depth gauge.
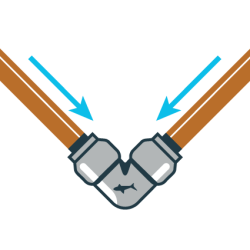
Push
Insert the pipe by pushing firmly until a positive click is heard.
Done
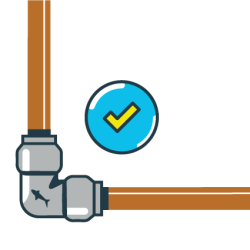
Ensure the mark made with depth gauge aligns with the release collar.
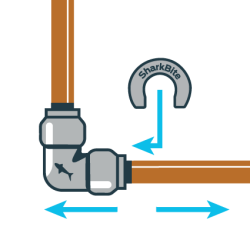
Disassembly
Using the Disassembly Tongs or Clip, fittings can be easily changed, removed and the fittings reused.
For more information, read our SharkBite Technical Manual.

